
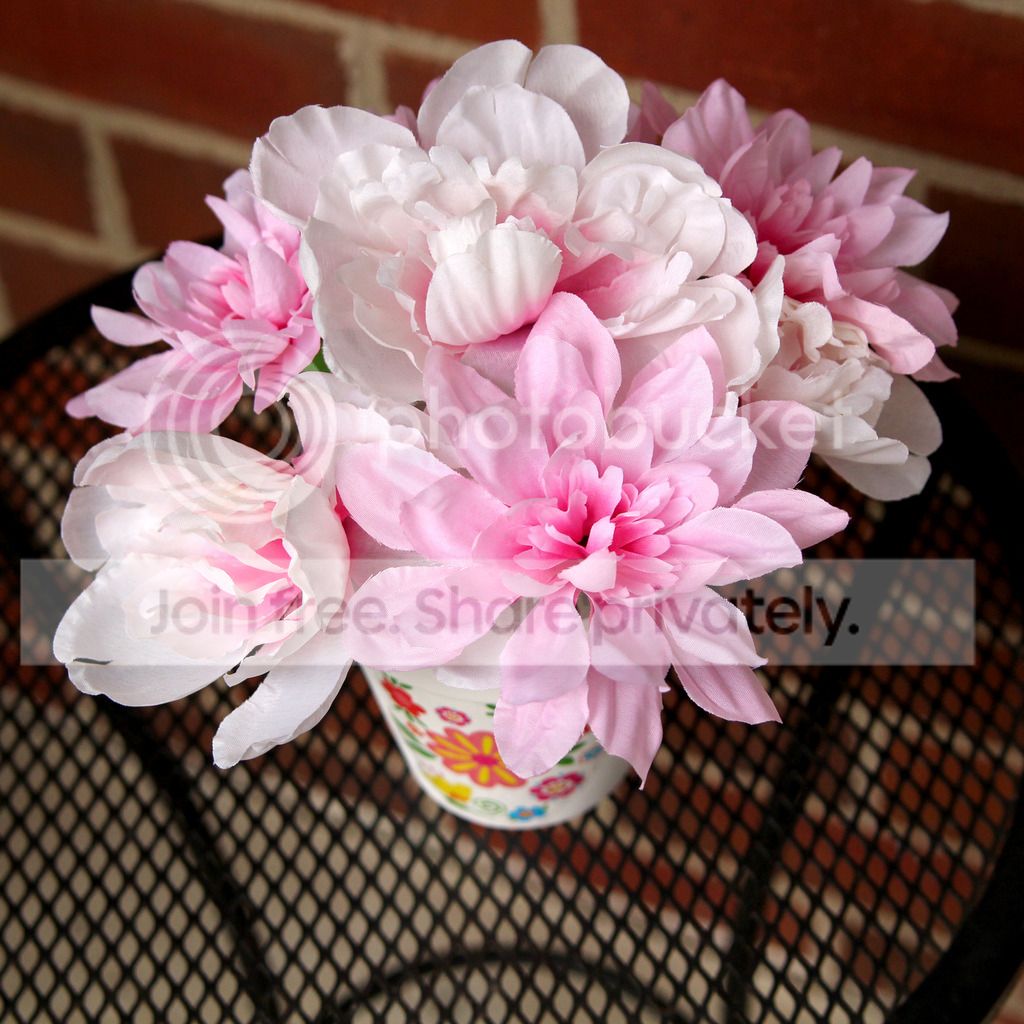
I'm back today with a project I shared for the SNL Design Team 12 Days of Spring. This was 12 days of spring projects and crafts. It wasn't all scrapbooking and layouts. We could choose whatever kind of spring project we'd like. If you haven't seen the projects, check out You Tube by searching "SNL 12 Days of Spring". You can also checkout the SNL Fanpage on Facebook here.
For my project on Day 11, I thought it would be fun to create something for spring that would make a great gift. My project is creating flower pens! These are perfect gifts for Mothers Day (Grandma's just love them!), great for teachers, hairdressers and just any place where pens are used a lot. It's much prettier to have this by the phone that a plastic cup of plain pens, don't you think?
The supplies are minimal and very inexpensive. Some may be things you already have on hand.
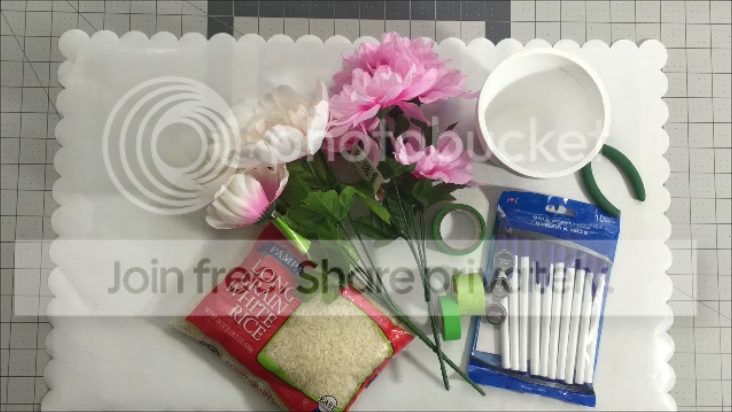
Here are the supplies needed: one pack of inexpensive plastic barrel pens, flowers, rice or beans, a small flower pot, green washi tape or floral tape, snippers and hot glue. For this project, I already had on hand the green tape, snippers and hot glue. I purchased the flowers, pot, pens and rice at my local Dollar Store and spent $5 for the supplies (and that's because I bought two bunches of flowers for variety).
STEP 1:
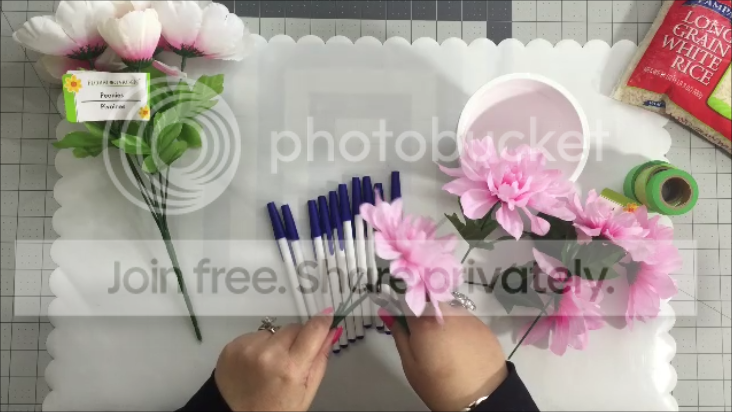
Begin by snipping off the top of the flower or by just pulling the top off. Keep the main stem just under the flower in tact as this is what you will be placing in the barrel of the ink pen.
STEP 2:
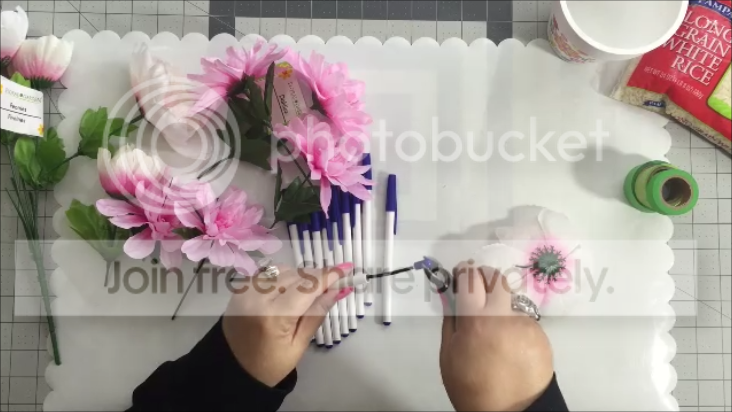
Using the snippers, carefully remove the stopper at the top of the barrel. It pulls out fairly easy. Just pull the tip out, not the ink barrel.
STEP 3:
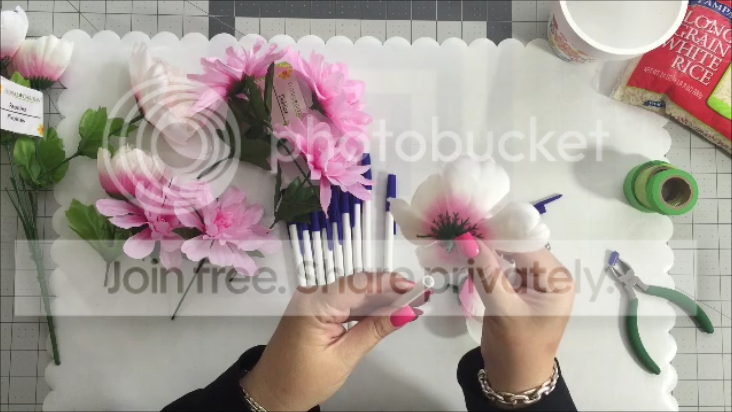
Place the stem inside the plastic barrel of the ink pen. I then ran a bit of hot glue around the rim to secure the flower and keep it in place.
STEP 4:

Set your pretty pen aside and continue the rest of the pens, doing as many as you like.
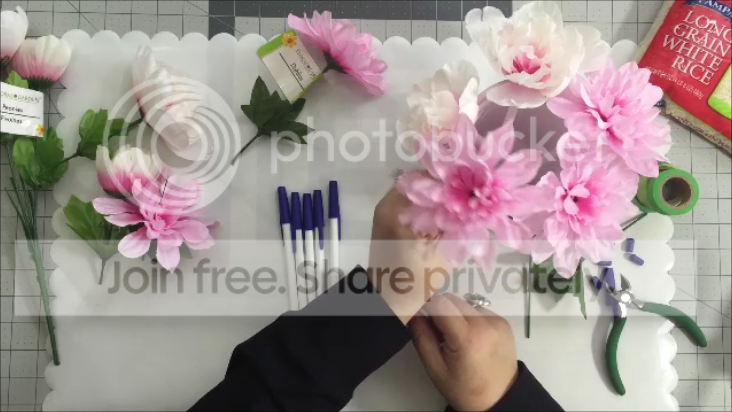
STEP 5:
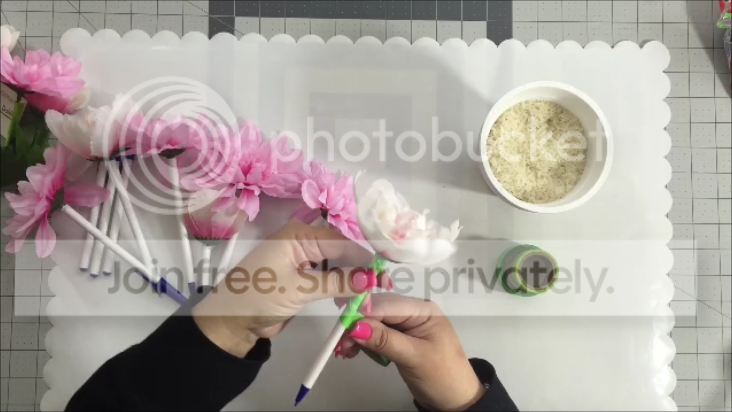
Fill your flower pot with the rice (or beans). This will keep the pens upright and in place in the pot.
Next, begin wrapping the barrel of the pen starting from the top and going down. Continue until all the pens are completed.
STEP 6:
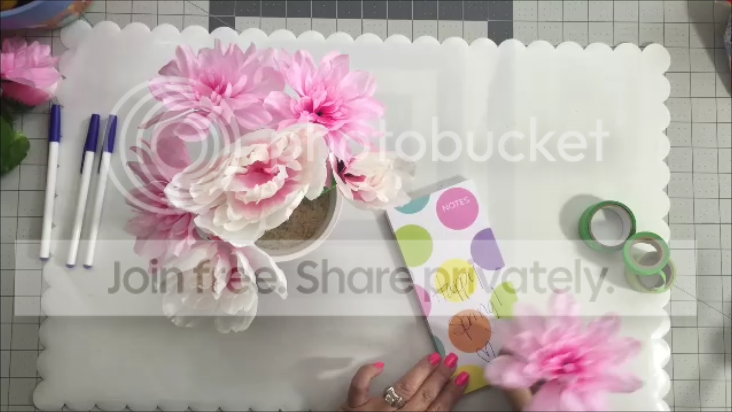
Arrange your pens and enjoy!
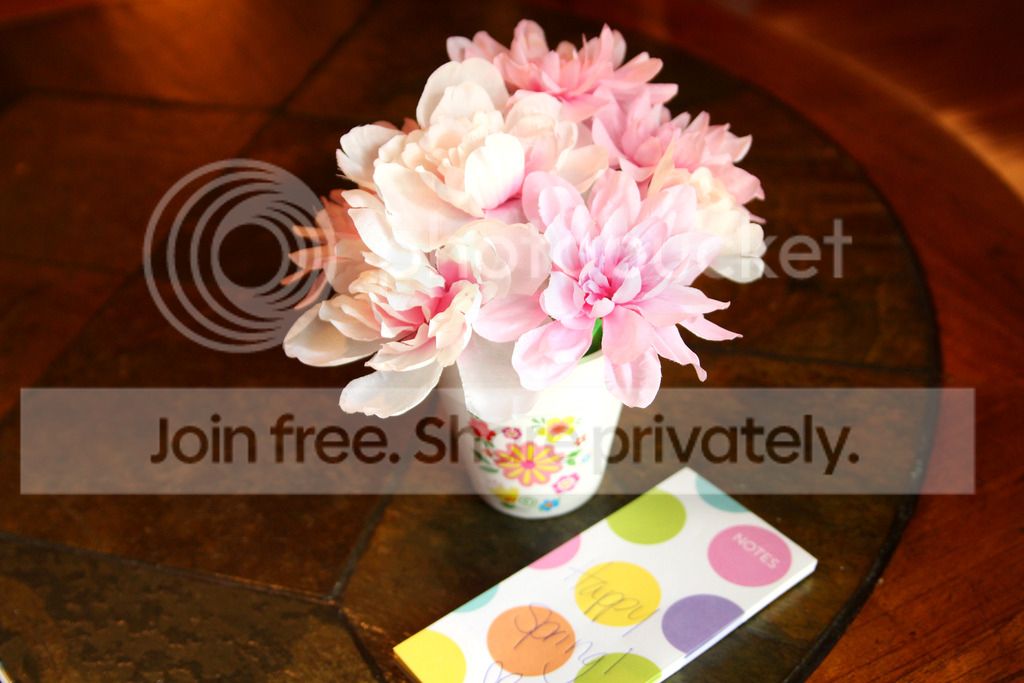
This is a great project to do with kids too. Its quick and easy! I completed this project in about 20 minutes!
I do have a video showing how to create this project as well! I hope you enjoy!
Thanks for stopping by and be sure to come back tomorrow for my Saturday Stash Dive layout!


A great project! I always have loved these. These would be great for teacher appreciation coming up for the kids too. Thanks for sharing!
ReplyDelete